Connecting a Google Cloud Account
To connect your GCP account to OpsHelm, follow the steps below.
Start the onboarding process
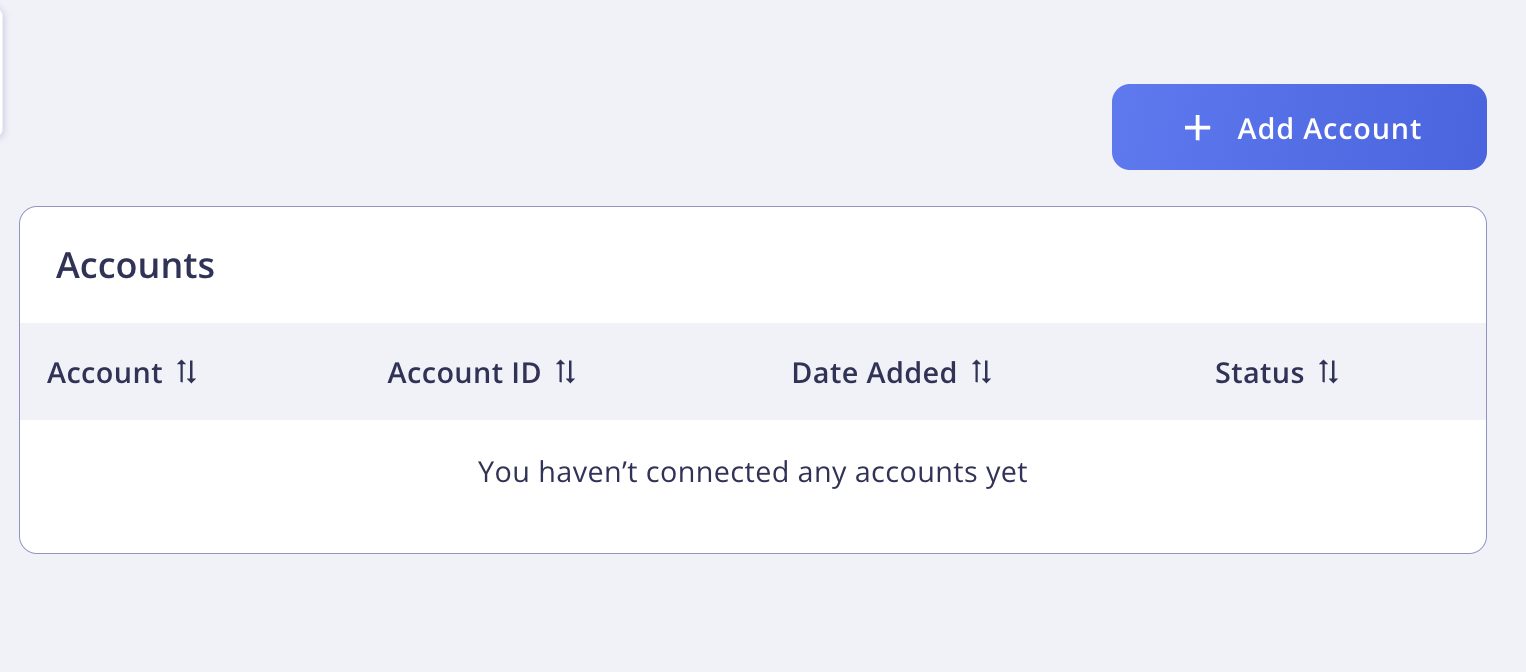
- First, go to the Accounts page in the dashboard.
- On the Accounts page, click the
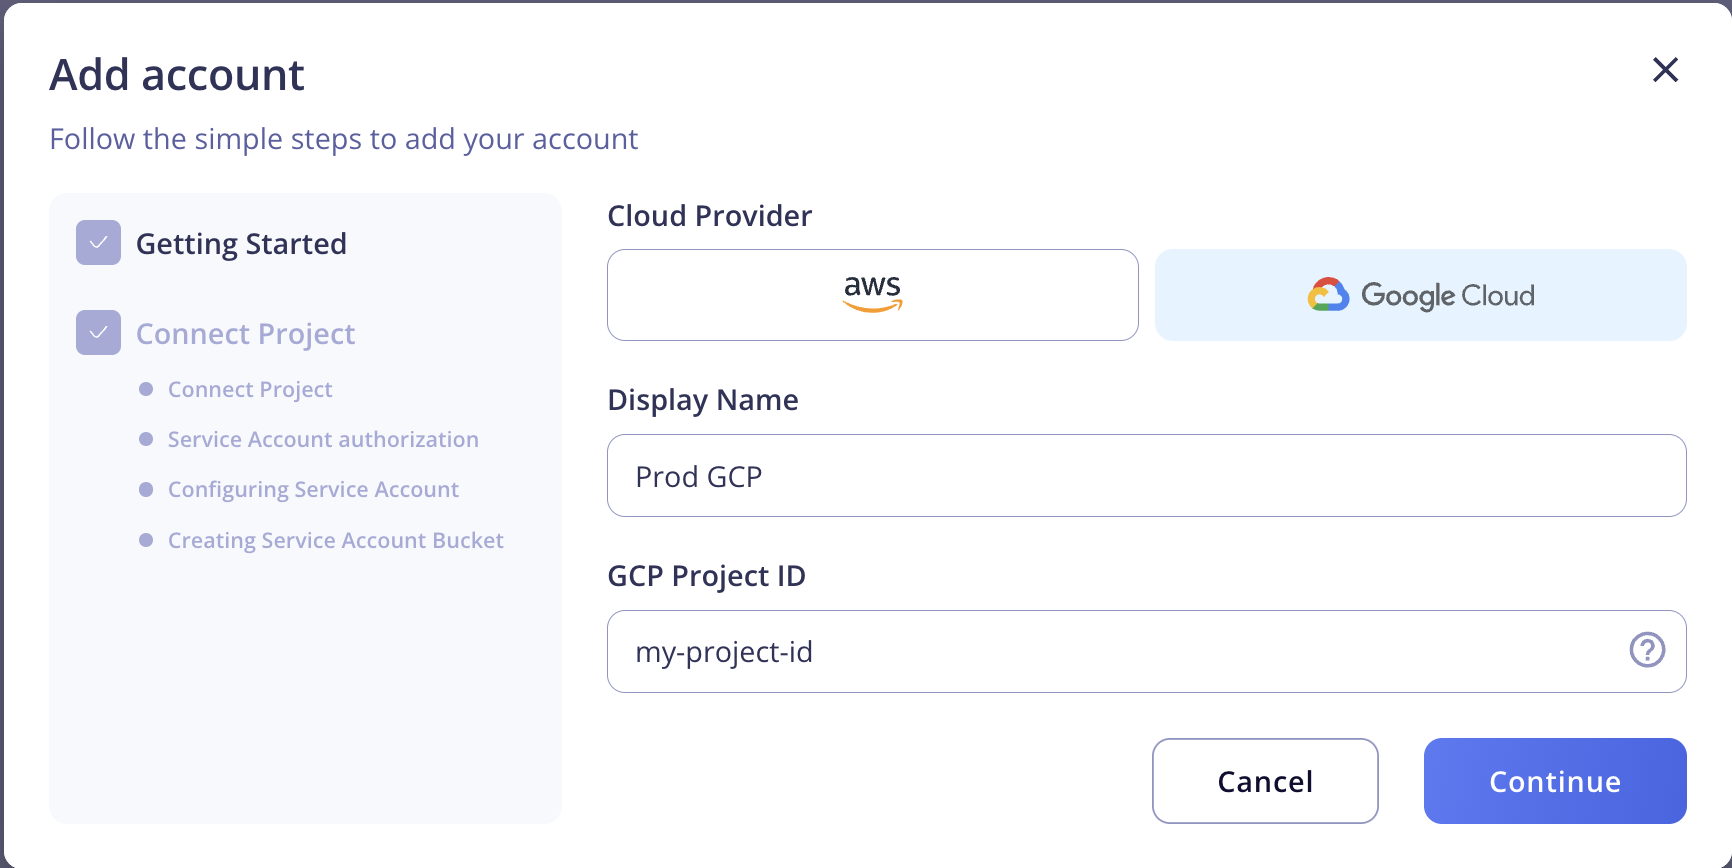
Add Accountbutton, and selectGoogle Cloudunder Cloud Provider.
-
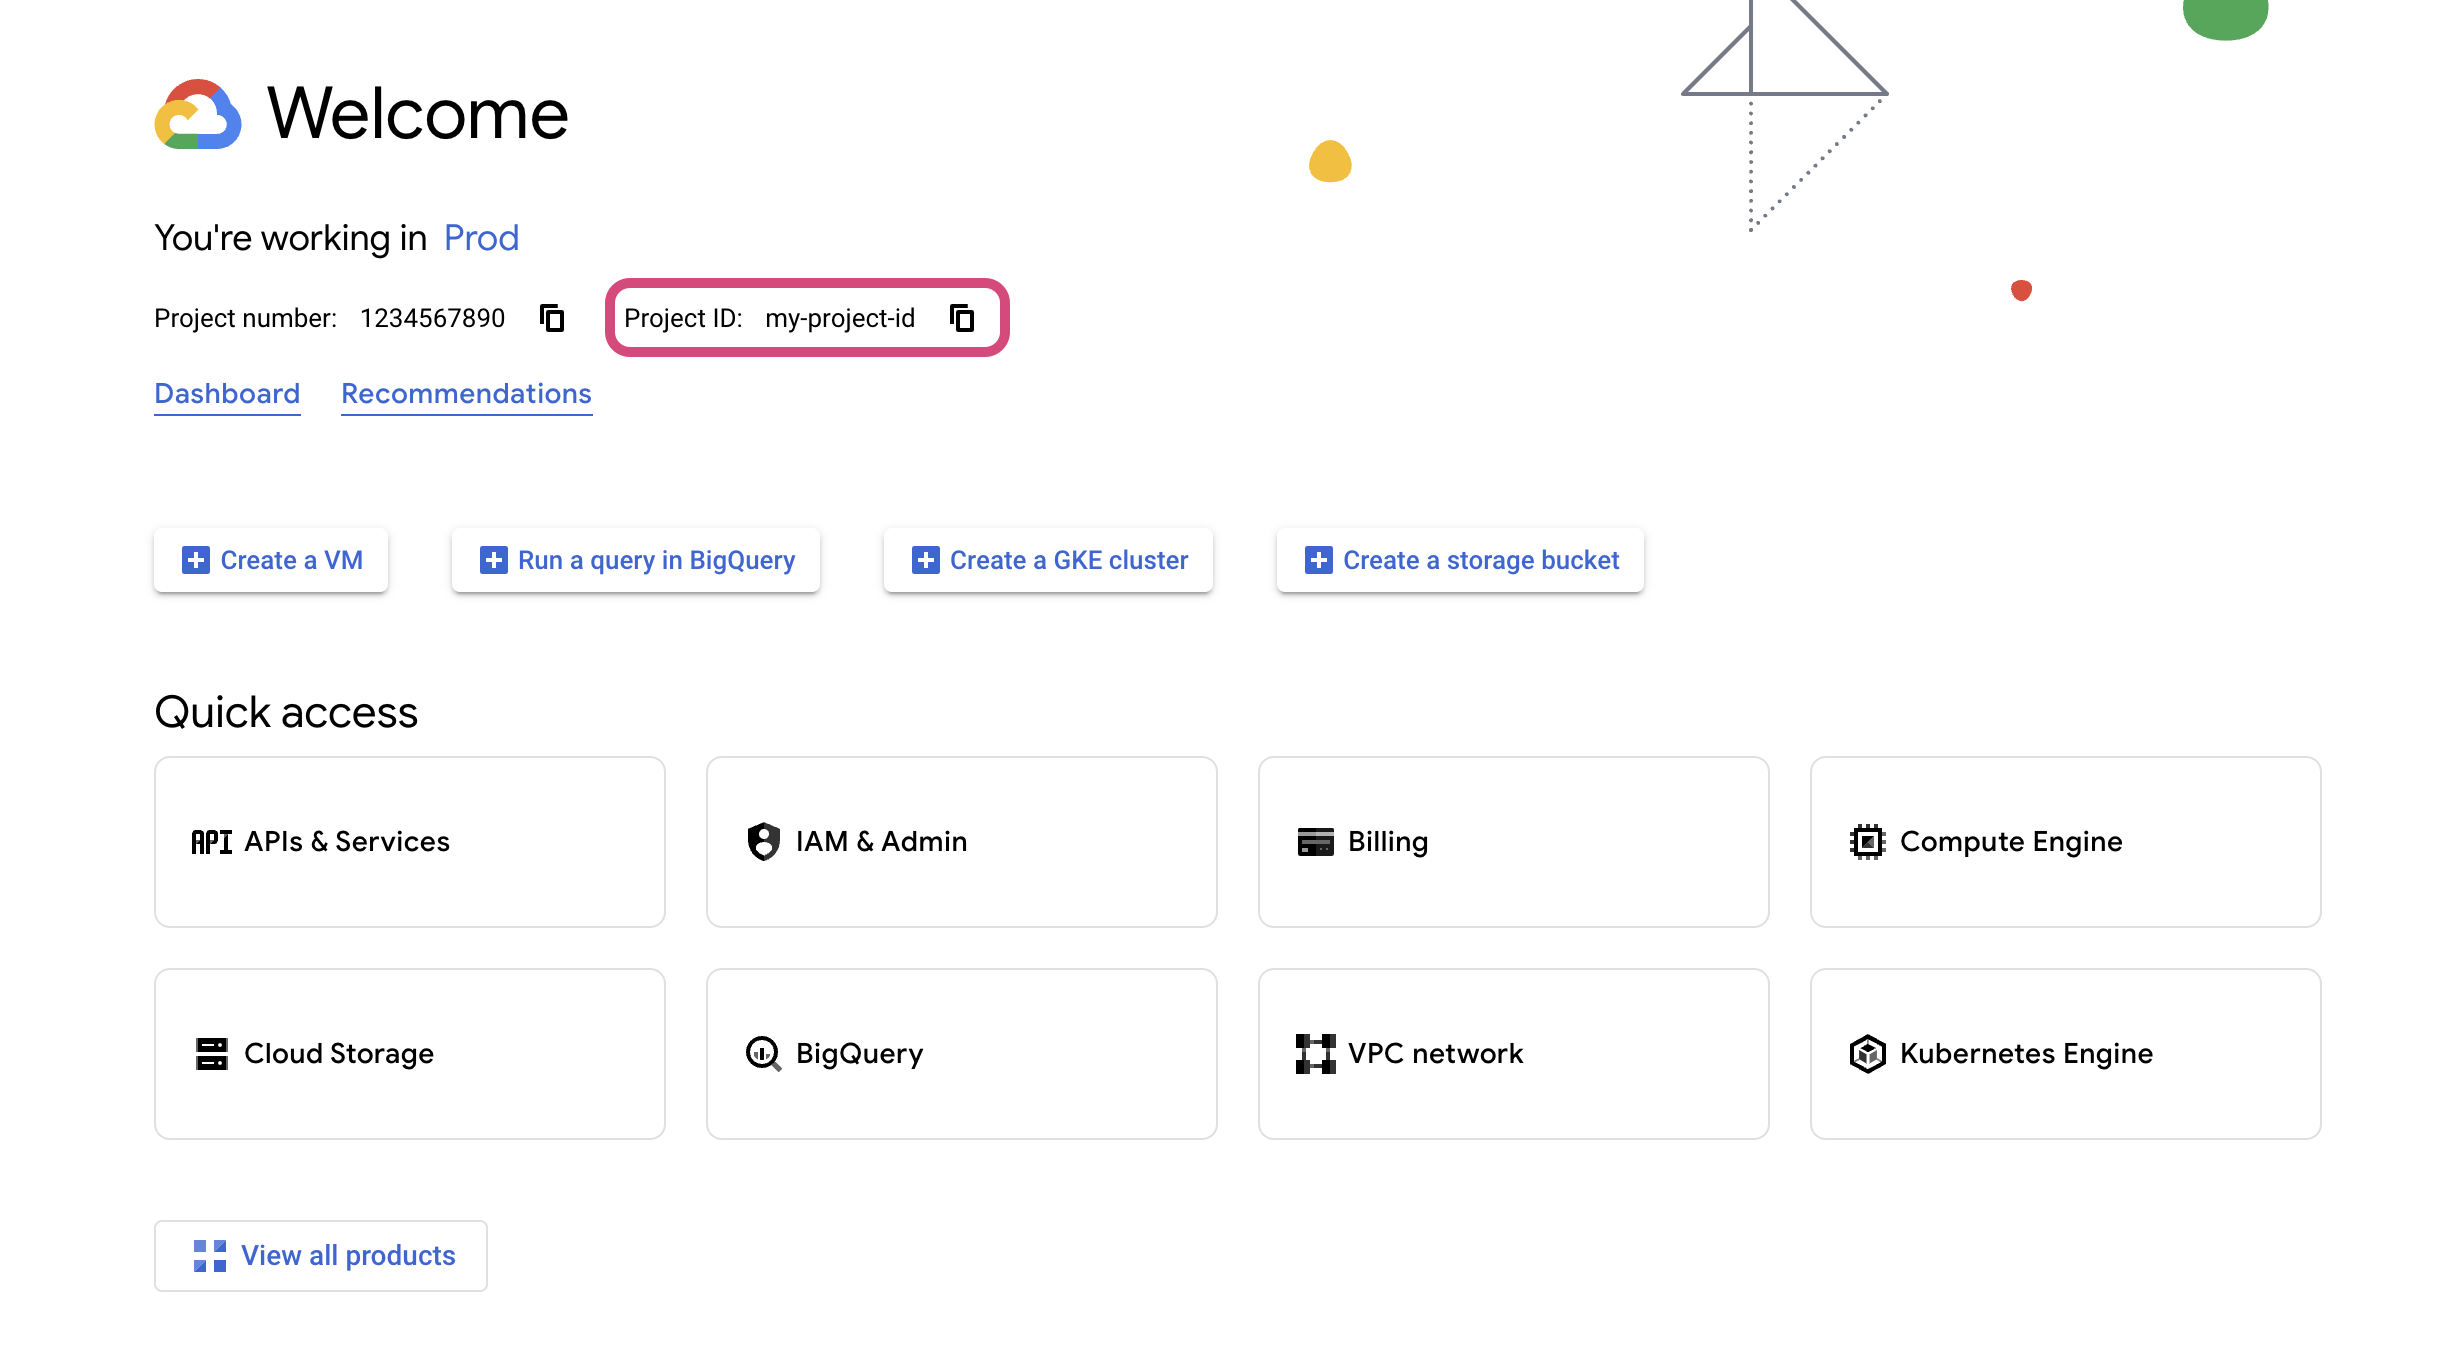
In the onboarding modal, specify a Display Name1 for your account and enter your GCP Project ID. Then, click continue to begin the onboarding process.
Note: Be sure to enter the GCP Project ID rather than the Project Number:
Authorize OpsHelm
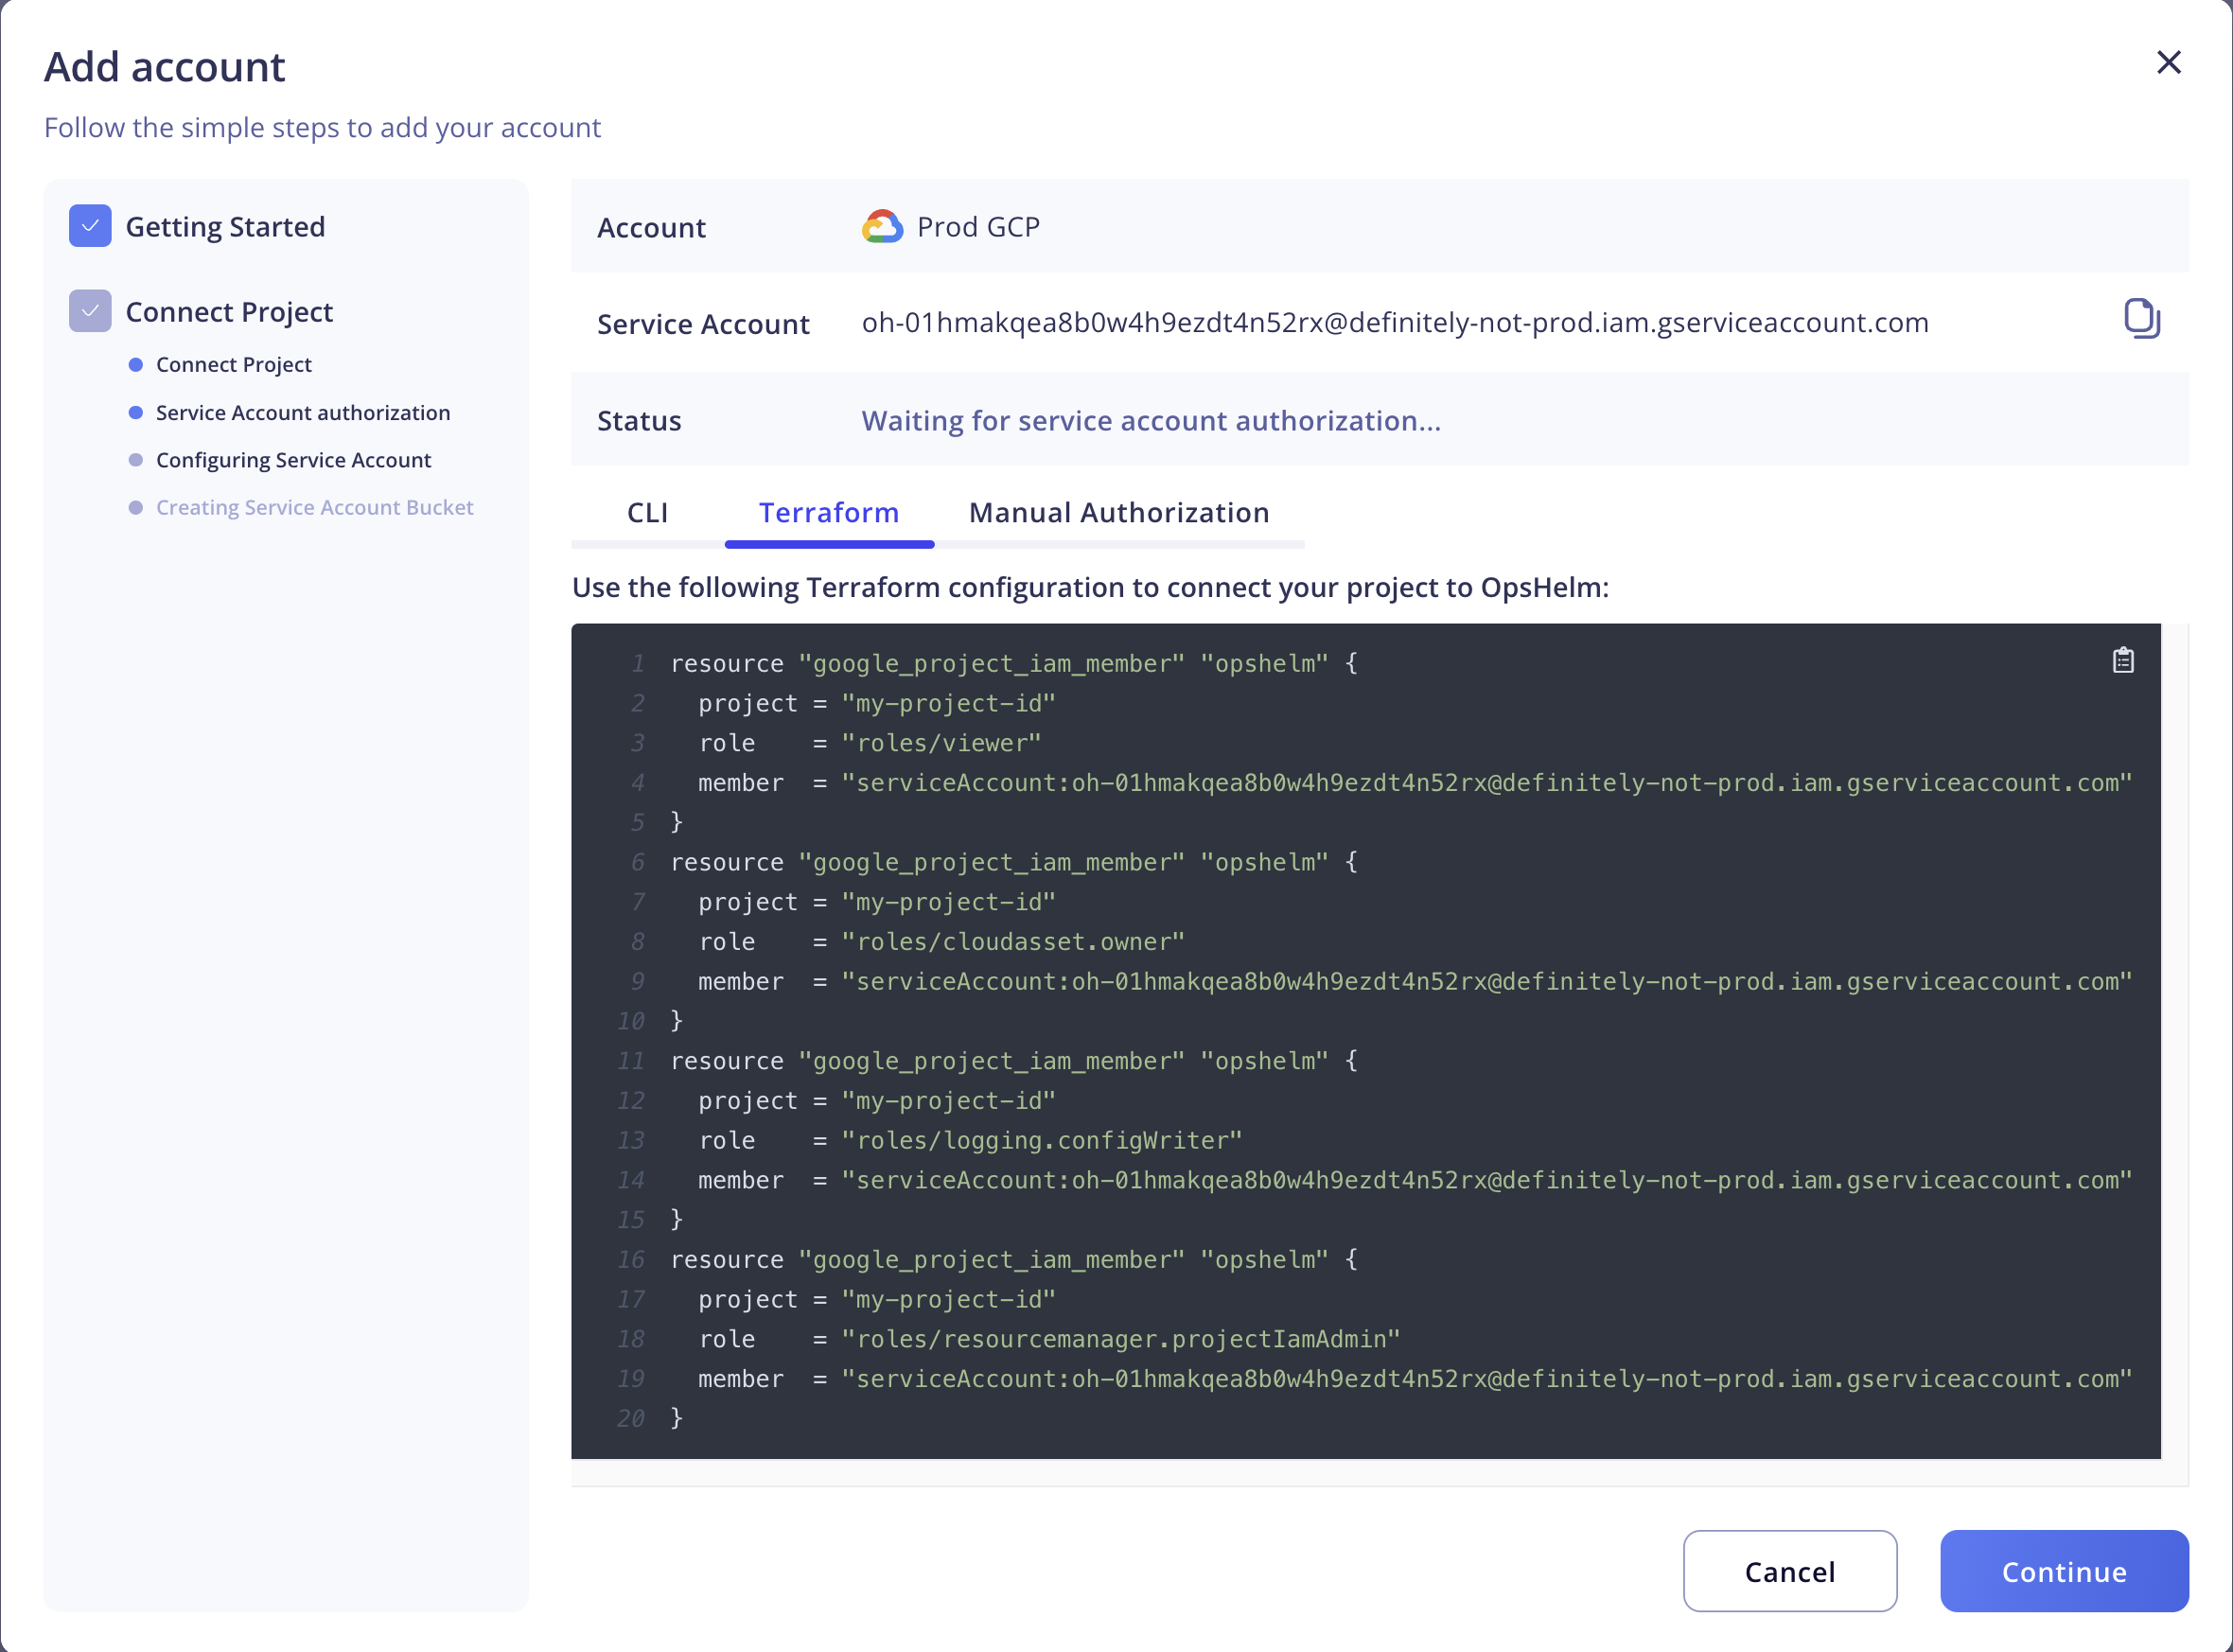
Once the onboarding process is started, you need to authorize OpsHelm to connect to your GCP account. This involves granting several roles to the OpsHelm service account created specifically for interacting with your account. The sections below describe how to assign the necessary roles to the OpsHelm service account. While we recommend using Terraform (or any other infrastructure-as-code tool) to manage this configuration, manual steps are also included below.
Terraform Configuration (Recommended)
In order to simplify the process, the application provides the necessary Terraform configuration for granting the required roles Copy the supplied Terraform configuration from the onboarding modal, add it to the Terraform configuration associated with your account, and apply it. Once applied, click the Continue button in the onboarding modal.
CLI Configuration
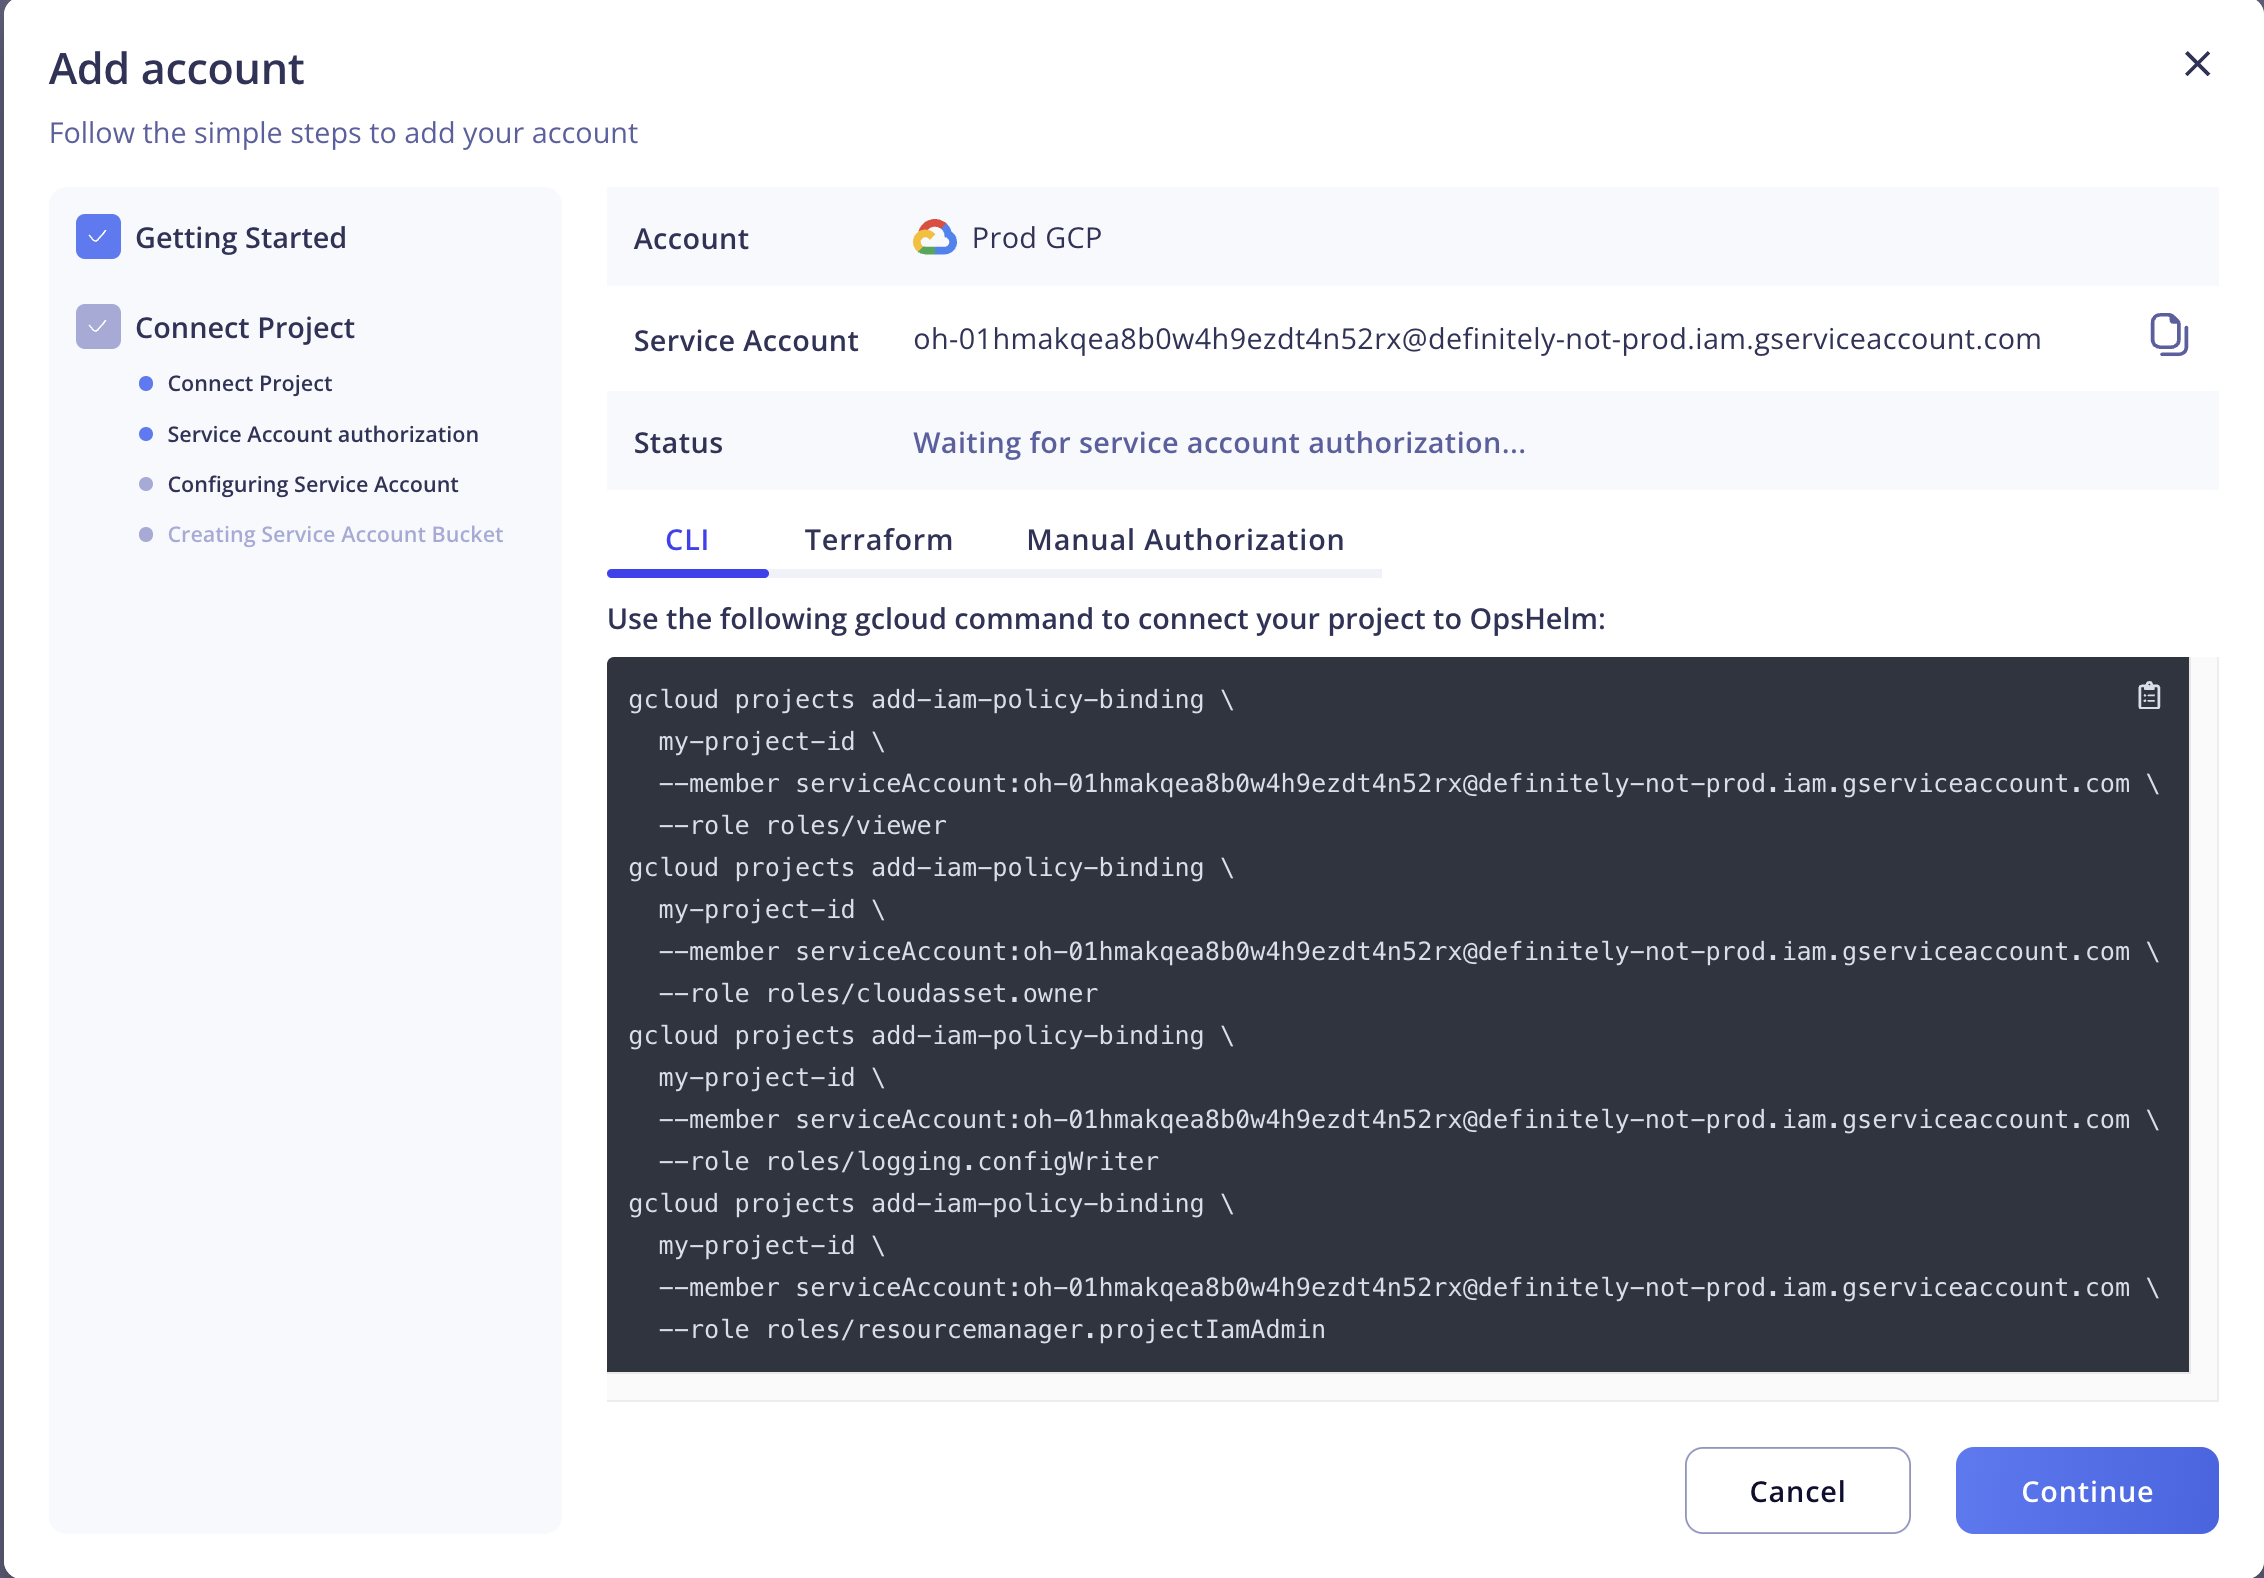
In addition to the Terraform configuration, the onboarding process also provides the gcloud CLI commands required to authorize OpsHelm.
The easiest way to execute the CLI commands is in a Cloud Shell directly in the Google Cloud console.
Manual Configuration
If you wish to manually authorize OpsHelm, follow the steps below to grant the required roles to the service account.
- Copy the service account name from the OpsHelm dashboard

- Navigate to the Google Cloud IAM Console
- Click
Grant Access - Enter the service account name under the
Add principalsection - Under
Assign roles, search for and add the following roles:roles/viewerroles/cloudasset.ownerroles/logging.configWriterroles/resourcemanager.projectIamAdmin
- Click
Save - In the OpsHelm dashboard, click
Continueto resume the onboarding process.
Wrapping Up
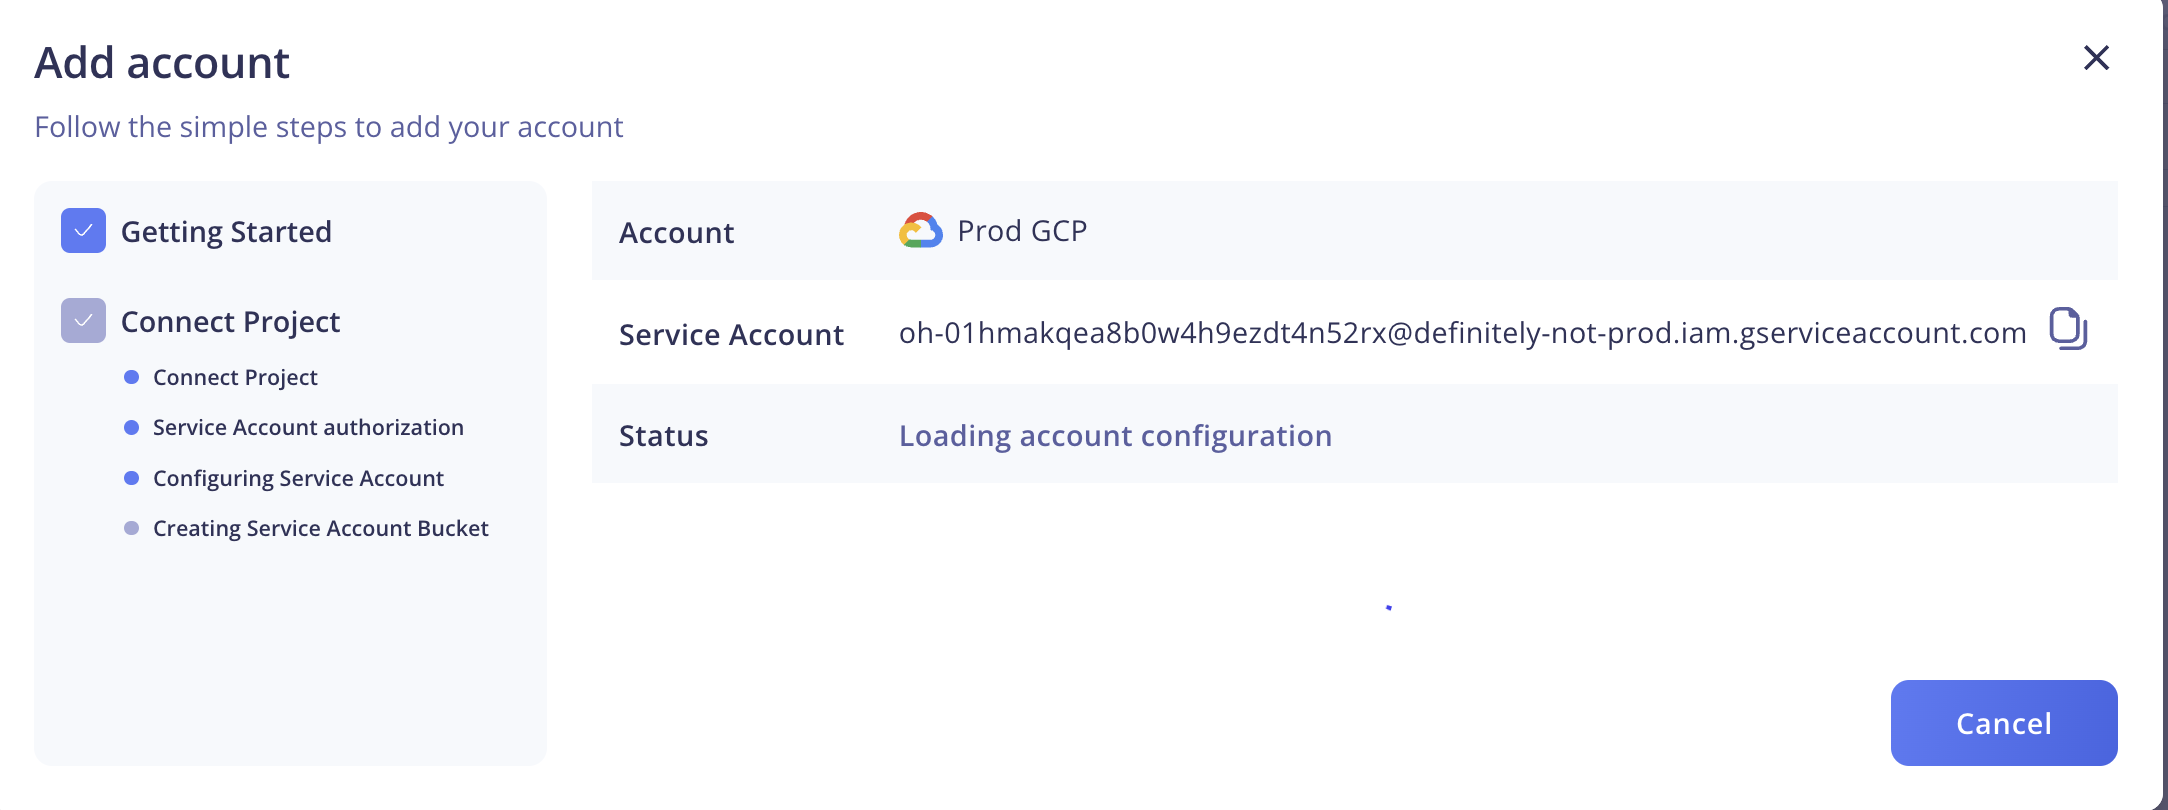
After authorizing OpsHelm and clicking Continue, the onboarding process will connect your account to OpsHelm.
The onboarding screen will display the status on the onboarding process while it's in progress.
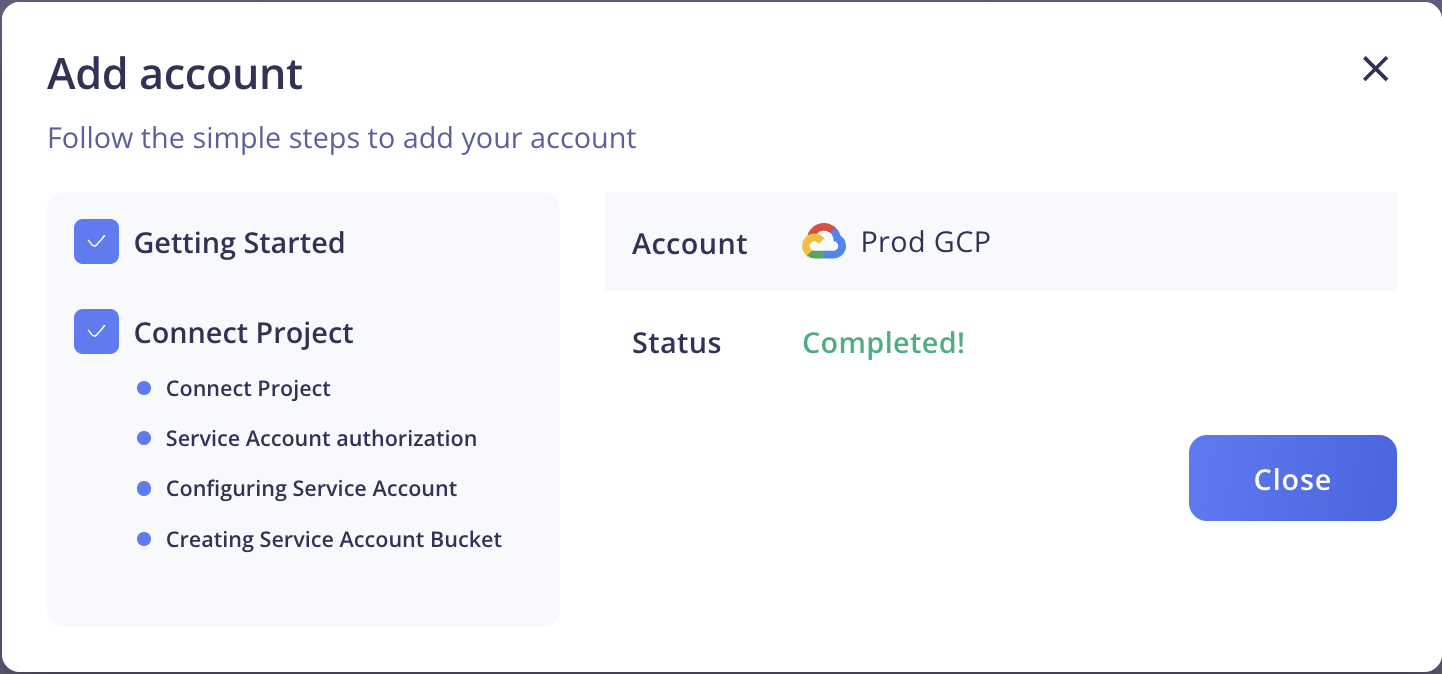
Once the onboarding process is complete, click the Close button.
Footnotes
-
The Display Name is shown throughout the dashboard alongside information and resources associated with the account. We recommend choosing a name that's easily recognizable. ↩